Many growers spend so much time growing amazing bud at home, but many don’t realize the essential steps that come next. Everything before harvesting marijuana falls under the cultivation stage, after that, it falls under processing, of which trimming cannabis and curing cannabis are important steps to undergo if you want quality, dank cannabis.
Once your buds have been harvested and trimmed, curing your weed begins. This step may seem less important than growing cannabis, but curing is just as critical. The curing process influences the yield, quality, flavor, and even experience of your dried flower.
You might already know when to harvest cannabis and how to trim it, but if you’re missing this crucial last piece of the weed puzzle, you won’t have a good time. Here’s how you can do it yourself to best enjoy your homegrown cannabis!
A Cannabis Curing Guide
When we smoke weed, it is the effects of ∆9-tetrahydrocannabinol (THC) and cannabidiol (CBD) that we seek. These two active compounds are only formed after the dried flower is exposed to heat, a process called decarboxylation. The inactive forms present in the plant material are tetrahydrocannabinol acid (THCA) and cannabidiolic acid (CBDA).
We want our bud to create the highest THCA and CBDA content as we can get. This conversion process continues after harvesting cannabis. Using the right curing process can help maximize the potency of your dried flower.
We also want our bud to maintain those high levels of THCA and CBDA. These compounds are broken down through a natural process called oxidation. Factors that affect the rate of this process are light, temperature, and the presence of oxygen. A solid curing process ensures less loss of THCA and CBDA during this process and afterward during storage.
Combining these factors, the curing process helps us get the most value out of our cannabis plants and maintain quality over time. To understand how curing influences the flavor and smoking experience continue to the next section.
The Importance of Curing Cannabis
As mentioned, there are active processes that occur during drying and curing that influence the formation of THCA and CBDA. This is why these steps can help you get the highest potency possible out of your plant.
Curing is also used to get rid of other unwanted compounds, including chlorophyll. This green compound is helpful in plants to help them grow but produces a grass or hay-like flavor when smoked.
To break down chlorophyll, light, air, and water are needed so that bacteria can do the hard work. This bacteria eats other undesirable compounds and needs enough oxygen to live until the job is done.
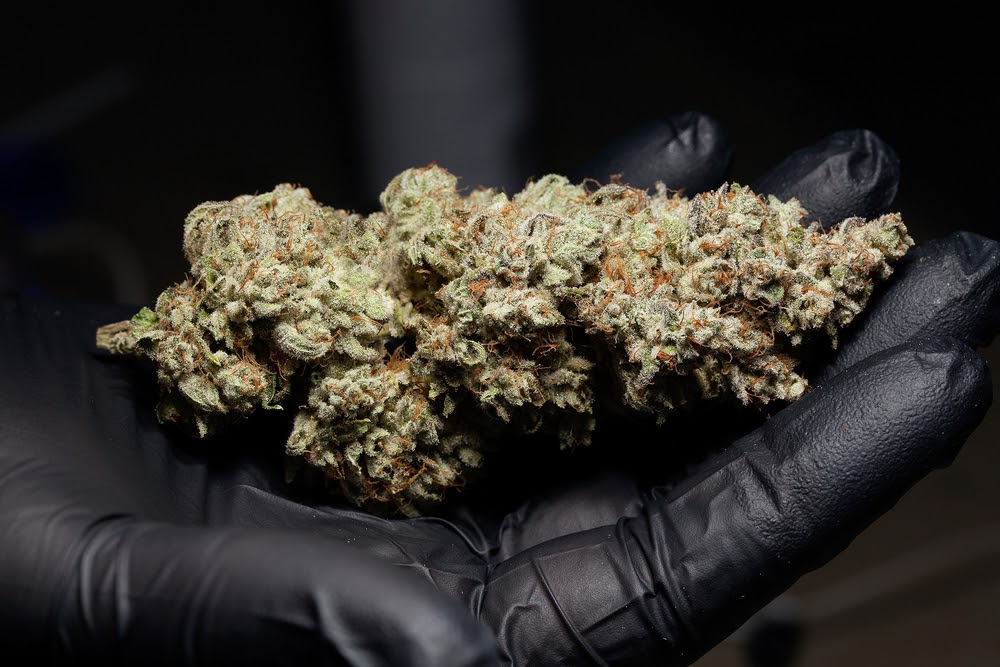
Consumers and patients often want to see pure white ash and have a smooth smoking experience. The breakdown of the compounds discussed above are thought to play a major role in both of these domains.
Curing Cannabis
After you have your plants harvested and trimmed, then it is time for processing the cannabis by drying and curing it. Drying is the first step used to rather quickly remove the moisture on the surface of the bud. Curing is the second and longer phase, used to reduce the water content throughout the bud. Along with the other benefits described above.
Combined, these two steps play a role in preventing the future breakdown of the most valuable cannabis compounds. These include the phytocannabinoids we discussed (THCA and CBDA), along with smell-producing terpenes. Taking weeks or even months to cure the weed also has the added benefit of preventing you from smoking your whole stash too quickly!
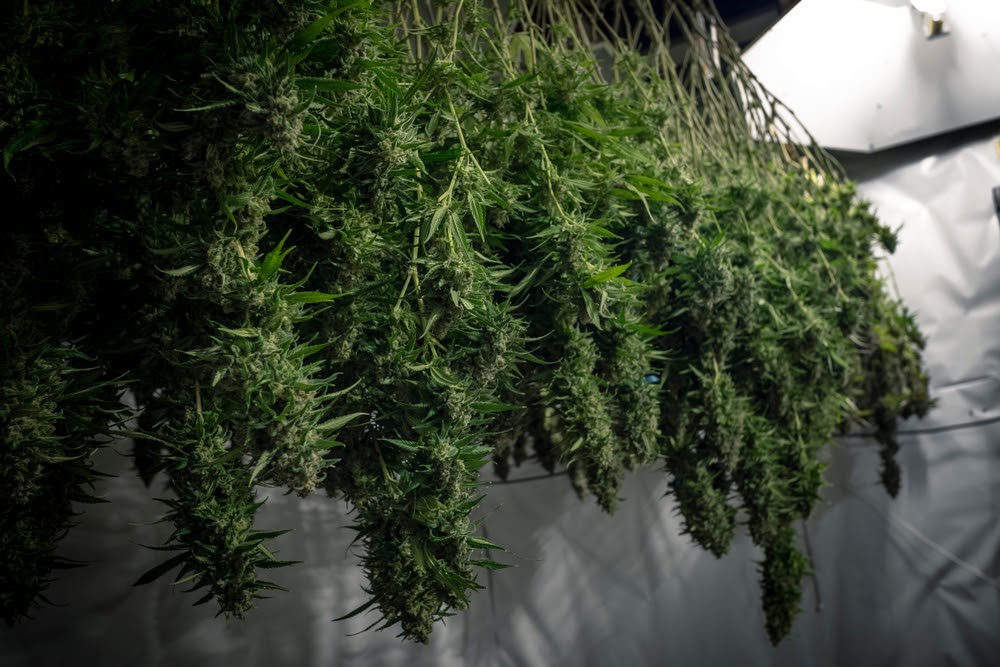
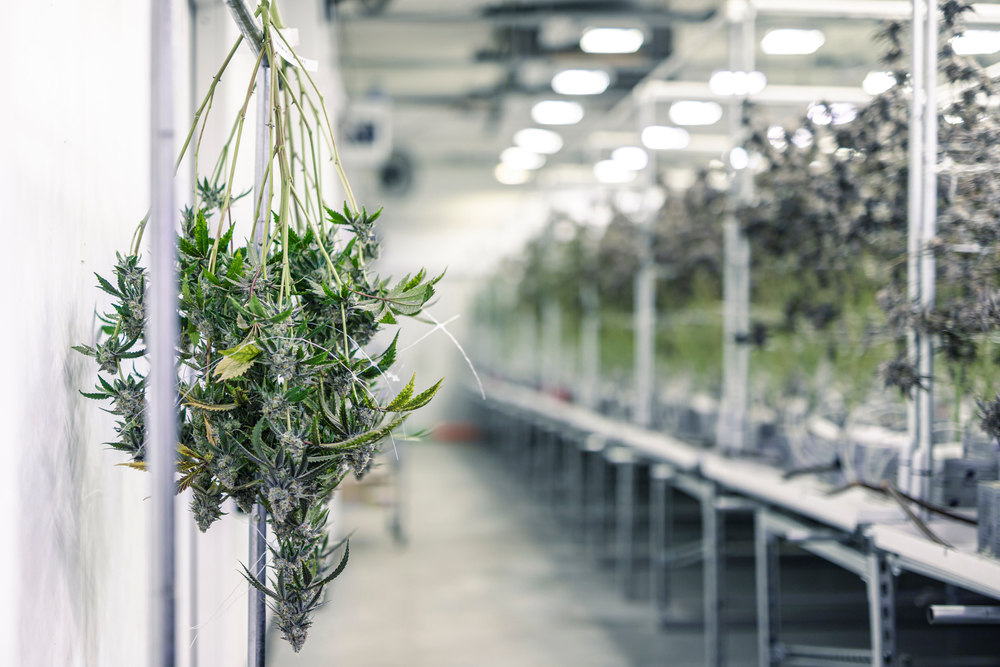
The Drying Phase
The drying phase starts the processing phase of making dried flower, with the main goal of preventing the growth of mold. This allows for long term storage of cannabis, as long as it is kept in airtight containers in a cool and dark place. The final moisture content of your buds should be around 5-10%.
This is the range commonly found in the legal cannabis industry and is somewhat lower than what some consumers may have accessed in the past. As a home grower, you should consider how long you want to store cannabis, as well as any health conditions that may impact your body’s immune system. Depending on these considerations, you may want a somewhat higher moisture content.
Make sure you raise your drying cannabis off the ground as much as possible in your space. The drying phase is usually around a day or two, although it can last up to two weeks. Do not overdry the bud, as this causes damage to the trichomes (the THC and CBD containing parts) and an ultimately lower potency
The room itself should be dark and well ventilated. Temperatures should be around 16°−30°C and the humidity in the air around 45-55%. Growers often dry buds upside down while still on the branch, after minimal trimming of leaves. If you remove your buds and perform more trimming, less manicuring is required after the drying process. Most growers should avoid trying to speed up the drying process by use of an oven or other technology.
While there can be a range to the temperature that will get the job done, going higher than 21°C can cause a breakdown of terpenes in the bud. By balancing the need to dry the bud with the need to preserve terpenes, growers should generally aim for a temperature around 16-21°C.
By weighing your plant before and after the drying process, you can get a rough idea of the change in moisture content. Fresh buds will have around 70% water content. For those who keep the buds on their branches, when these become brittle the process is usually complete. The optimal final relative humidity of your weed should be around 55%-65%.
Curing
While curing cannabis is not vital, it does provide many benefits to the final product and smoking experience. The flavor, texture, and smell of your dried flower are enhanced with curing. And when done right, no decrease in potency occurs. These instructions will help you learn the entire step-by-step process for creating that ideal dried bud.
Step-by-Step Curing
- Complete manicuring to remove unwanted plant material
- Put the buds into airtight containers, write the date on each
- Do not squeeze the bud by packing it densely, it should be loose
- Get the containers to a relative humidity of 62%
- Store containers in a dry, cool, and dark room
- Check the bud after the first few hours to look for rapid changes (squeeze a piece between your fingers softly)
- Open the containers 2-3 times per day, roughly six hours apart. This releases moisture and provides oxygen for the good bacteria
- After one week, reduce the frequency of opening containers to one-two times per week
- Maintain this process to completely cure the cannabis over a couple of weeks or up to six months
- When buds are squeezed, they should have a sponge-like density when completely cured
- Write out details on your process in a journal with the dates and a few notes about quality, including the squeeze tests and how it smells
Final Thoughts on Curing Cannabis
In this complete guide to curing cannabis, you learned the science behind why drying and curing correctly is so important. By taking your time and following these steps you will process your harvested weed into fantastic dried flower. This bud will have the best potency and smoking experience possible.
Properly cured cannabis can maintain their potency and aroma for many months, but over time oxidation will reduce both of these factors. The best thing you can do is get the drying and curing process finished the right way, and enjoy your dried flower for the months to come.
 No products in the cart.